
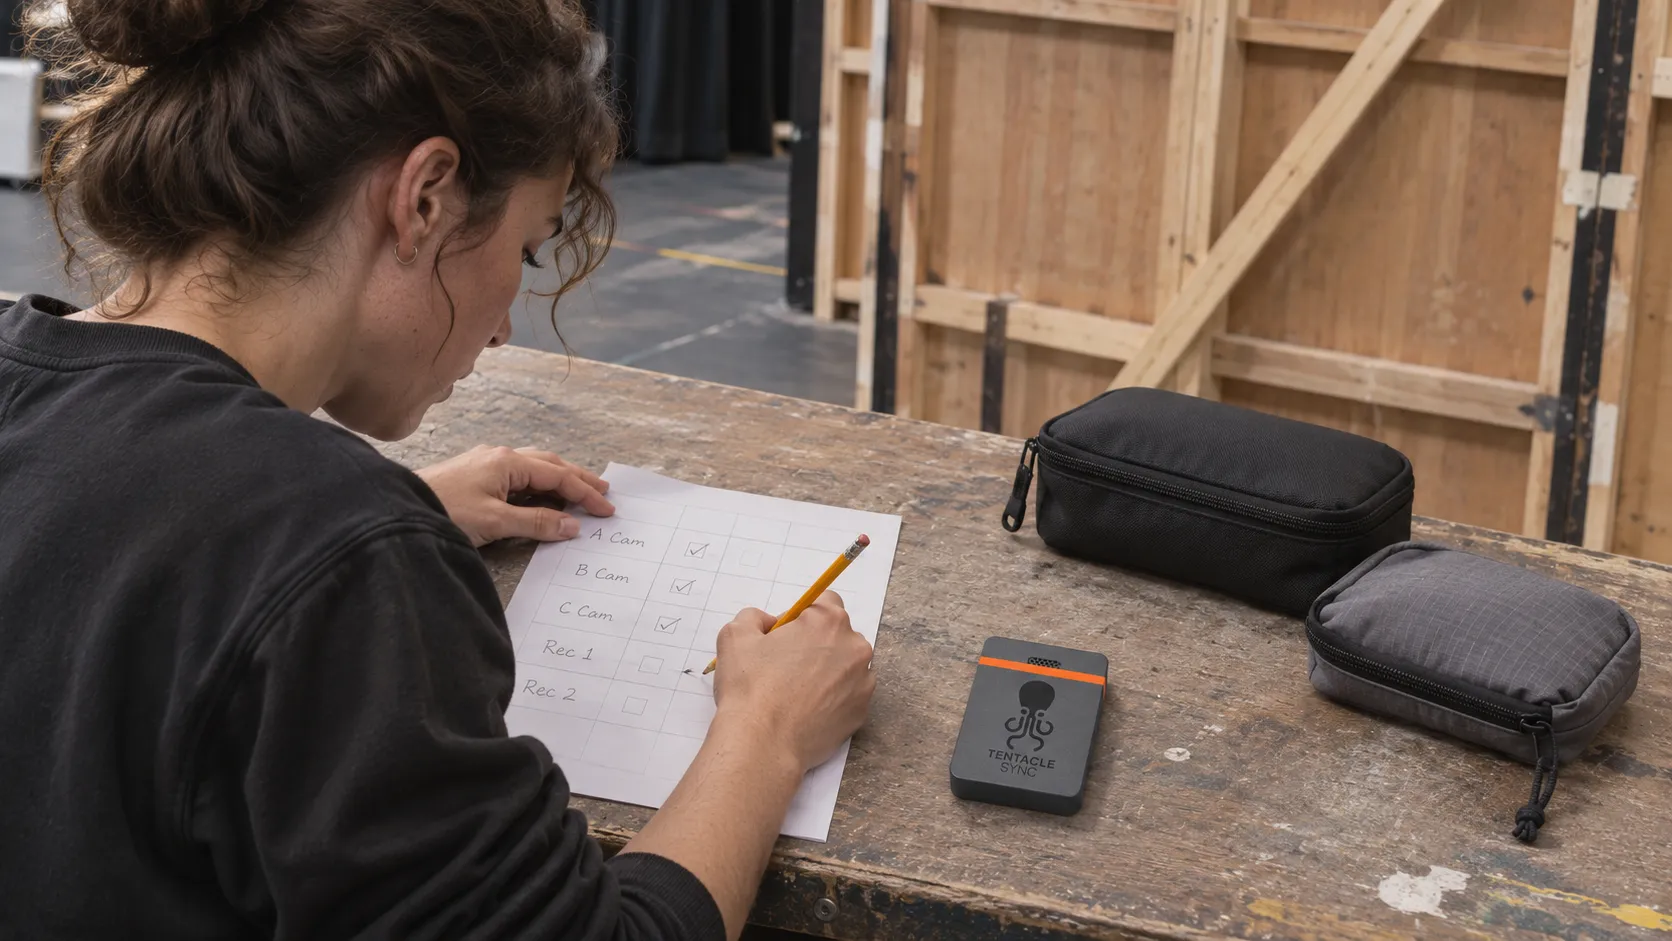
Before the first interview, ask the editor to open a short test from every camera and the sound recorder. That request can reveal a gap that a row of running timecode boxes will not: one camera may store timecode in its file metadata while another records it on an audio track, and post needs to handle both.
The point of the test is to settle a production decision while there is still time to change the package. Who receives which signal, how is it recorded, and can the receiving workflow use it? Those answers belong in prep alongside the equipment list, especially when the crew brings cameras or a recorder from another source.
Find out what each device will record
Start with the actual camera and recorder models, their intended recording modes and their available inputs. A shared connector shape or a familiar menu label is not enough to describe the path.
Tentacle’s connection guidance distinguishes a dedicated timecode input, where the recording device writes timecode into file metadata, from an audio input that records the signal on an audio track. It warns that not every editing application can process audio timecode directly and recommends testing the post workflow.
That distinction changes the brief for post. Name which files will carry metadata and which will carry an audio signal requiring interpretation. If an audio track is assigned to timecode, make its role explicit so it is not mistaken for another production sound channel. Agree where the required dialogue, reference sound and other production audio will be recorded.
Avoid assuming that a familiar generator makes every recording device behave alike. Confirm the appropriate cable, input settings and output level for each connection with the equipment documentation and the people responsible for camera and sound.
Give every box a destination
A count of generators is useful only after the crew has described the receiving devices. Write down the proposed pairing between each generator, cable and camera or recorder. Include any crew-supplied component and any configuration that changes during the day.
The Tentacle Sync E mkII is listed in the In Color Rentals catalog. It is a relevant option to discuss for this kind of package, with the actual supplied cables and accessories confirmed for the proposed devices. The listing does not establish availability for your dates, and software described in a product listing should not be treated as proof that a particular rental includes the license or post facilities your editor needs.
The SYNC E operating manual describes frame-rate and output-level settings and recommends checking compatibility across the entire workflow. Use that as a reason to make the intended settings visible in the prep notes. Do not leave a shorthand such as “24” to stand for an unconfirmed project rate or an assumed camera mode.
If an additional camera appears late, add it to the plan. Establish how its material will be identified and synchronized before treating it as another interchangeable angle.
Read status for what it actually checks
An app view can help the crew monitor its timecode devices. It does not replace checking the recording at the receiving end.
Tentacle’s device-warning explanation makes a particularly useful limitation clear: its cable-unplugged warning detects whether a cable is connected to the generator’s output, not whether the connection to the recording device is correct. A cable present at one end leaves questions about the other end.
During prep, trace the actual connection and check the receiving device’s configured input. Then make a recording. That moves the discussion from what a status display reports to what the production has captured. Retain useful device checks, but give each one a defined purpose instead of asking a single green indicator to prove the whole workflow.
Let post accept a representative test
A hypothetical two-camera interview could use one camera with a dedicated timecode input and another recording timecode as audio, with dialogue on a separate recorder. Before the shoot, capture an identifiable short action and sound across the intended devices, then send the original test files to the person preparing the edit.
Ask that person to use the intended software and actual synchronization method. Can they identify every source, interpret its timecode and assemble the correct picture and sound? Check the visible and audible relationship rather than assuming a command completing without an error establishes the intended result. Choose a test duration and conditions that represent the production’s requirements; a very short clip cannot answer every question about a long recording.
Record the accepted process and any conversion step. If post needs a particular utility, confirm who supplies it and who performs that step. Resolve an unexpected offset, missing track or unreadable timecode before repeating the setup across a full shooting day. This is a proposed prep exercise, not a claim that an unspecified combination has been tested.
Keep the result useful after a change
Name the person who checks the path after a camera-mode change, device substitution or other relevant reset. Agree a fallback identification method with camera, sound and post, including clear take identification and an appropriate visual and audible reference where required. A fallback needs to be understood by the editor, not improvised silently on set.
Keep the accepted sync notes with the material. Our media-handoff article covers the separate question of verifying copies and deciding when source media can be released. A successful transfer and a usable synchronization path are both useful evidence, but they answer different questions.
Bring the recording devices, intended rates, proposed timecode paths and open post requirements into the rental conversation. The package is ready for its job when the crew knows what will be recorded and the receiving editor has a workable way to use it.
The image is an AI-generated illustration of a fictional production scenario.